Categories
3D Printing Nerding

Learn how to make more cool Christmas lithophanes

Clickbaity title, isn’t it? This year, and this time in time for Christmas, I want to show you another great lithophane generator. A couple years ago I posted Make your own Christmas Lithophane decoration about making spherical lithophanes you could hang on your Christmas tree. In accordance with EU laws to avoid any kind of personal data handling I don’t track users at all and I don’t keep any kind of metric, but it’s my most commented post so far, so I guess people like and make these a lot.

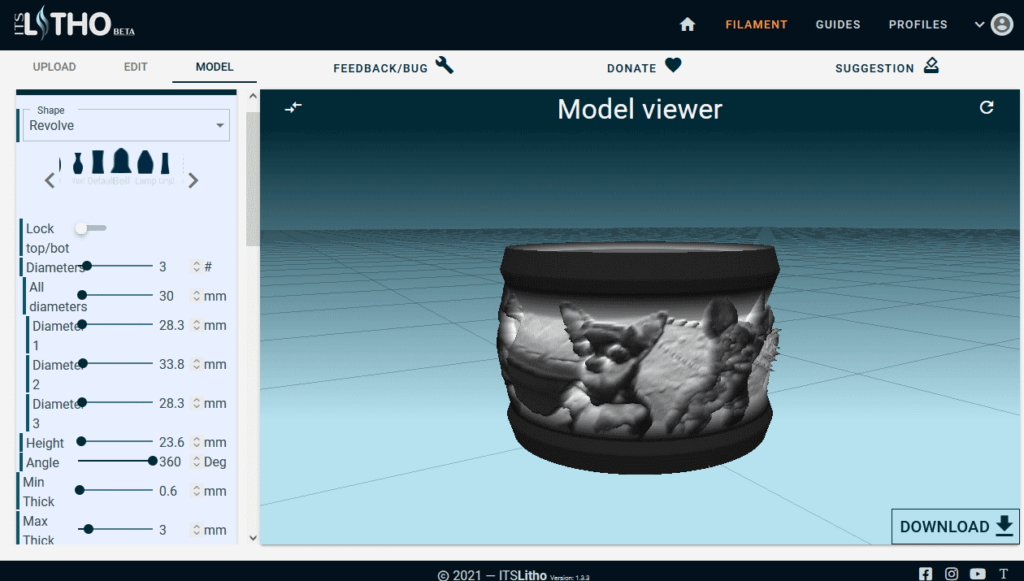
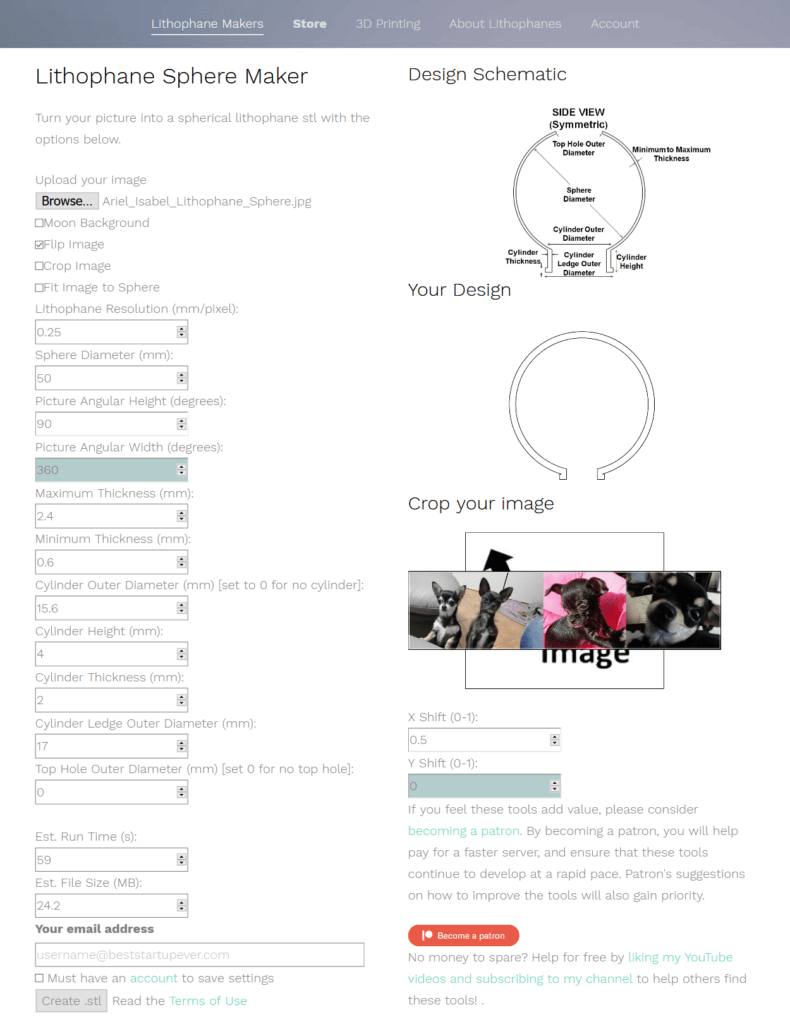
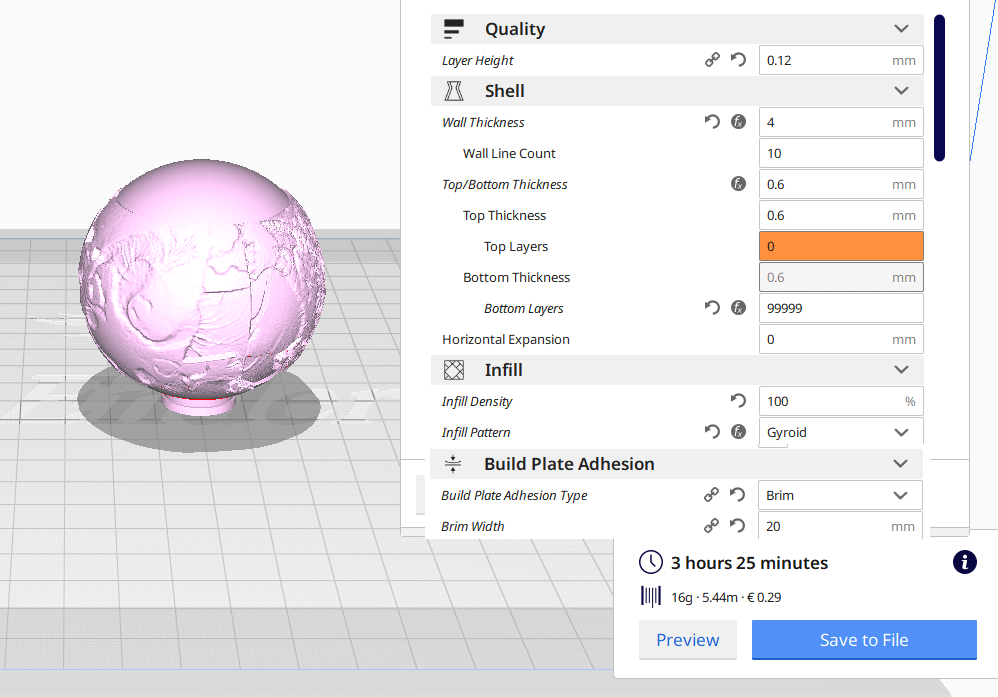
Now let’s cut the small useless talk and get to the point: Go to itslitho.com to see the new lithophane generator I’m talking about. It’s more feature-complete than the one I used in the earlier post, keep in mind this does not mean “it’s better”, for some people the other one is simpler and easier to use. This time I won’t be explaining every single feature of this editor, it has too many for lazy Muu? to show you. As you will see from the screenshot below, it does feature a preview window

itlitho screenshot
You can actually preview the model as you edit it!

It’s Litho profile examples

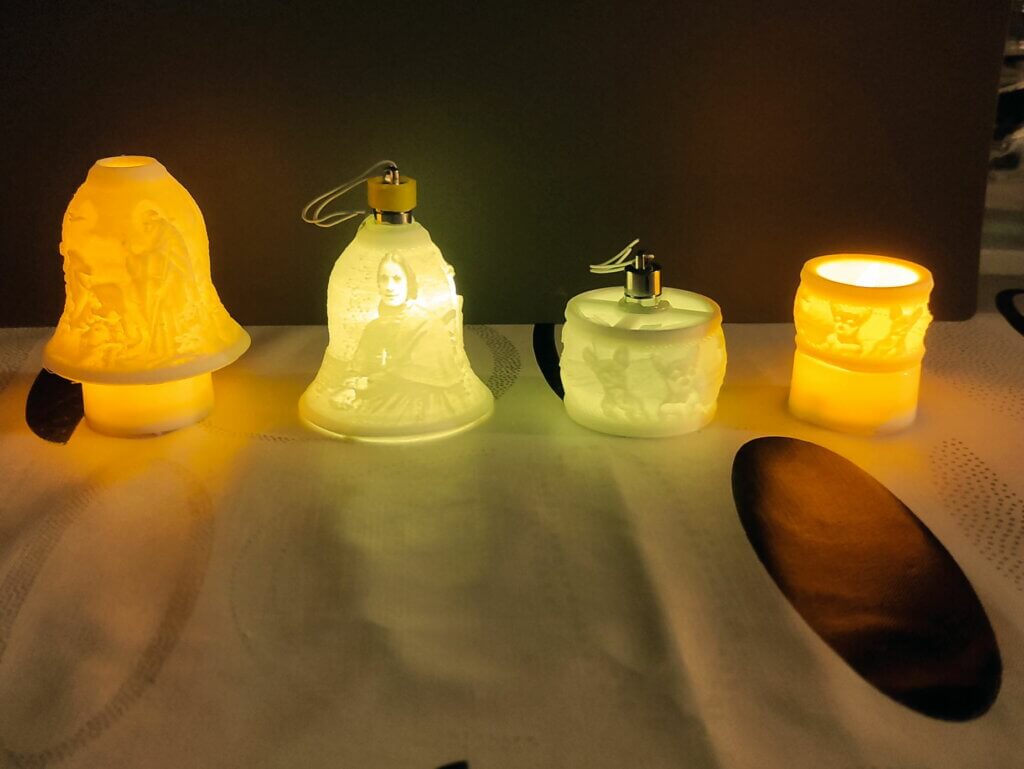
What I’m showing you today is a bunch of examples, one using led tealights, one using the old Christmas ball decoration led and one that can use both lights. The best part of this site is that allows you to save and share profiles, you can see in this preview what my creations look like and access the relative profile directly by clicking on it.

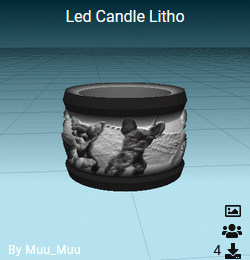
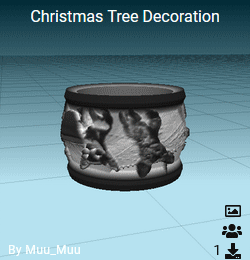
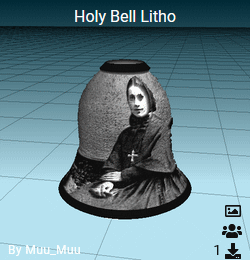
Image formats and lithophane lights

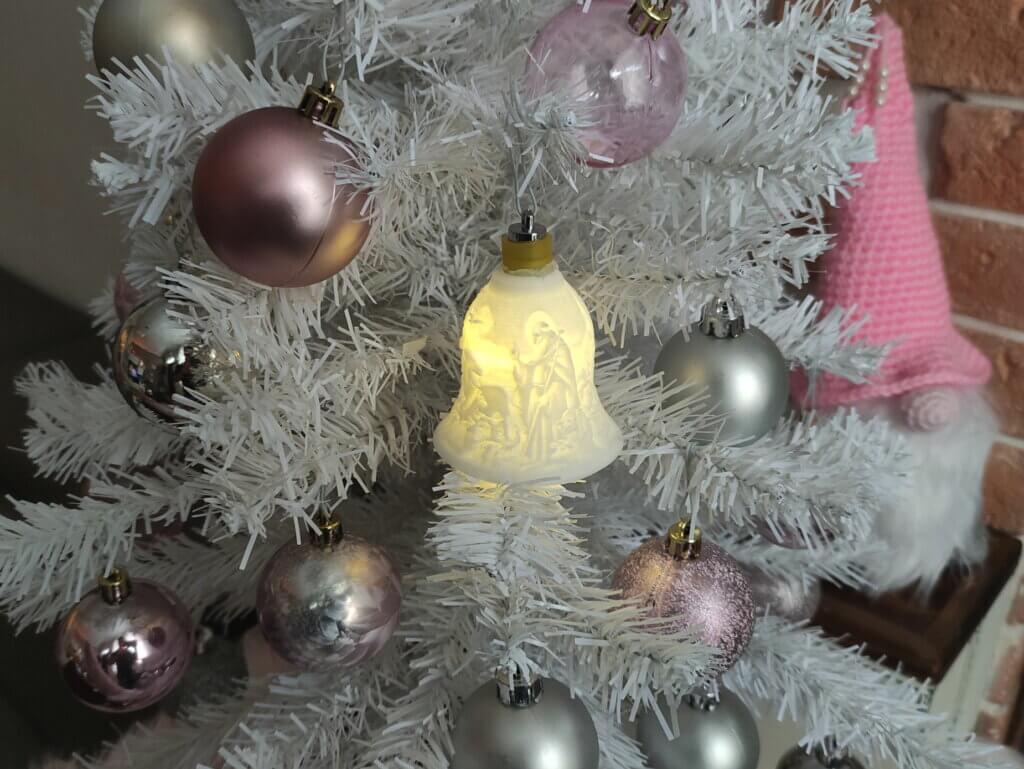
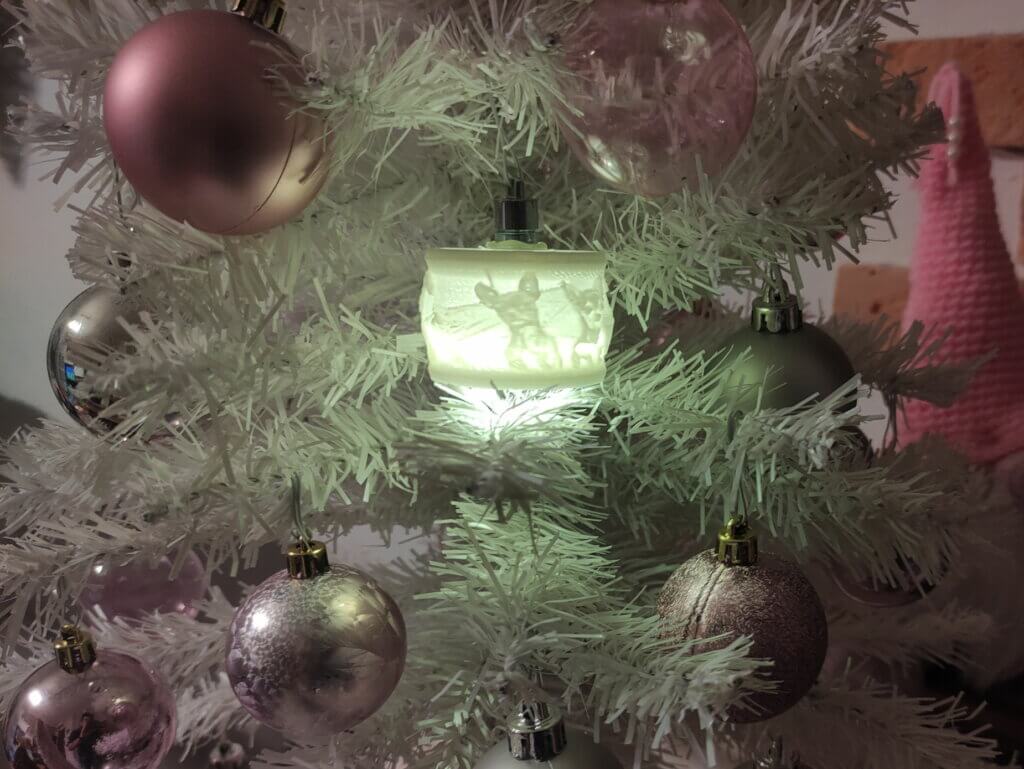
Regarding image format, for the first two profiles I kept the same 4:1 ratio reusing my previous dog photo collage, while for the Holy Bell I made a new 2:1 image with my town’s Basilica (Church) Patron Saints Antonio Abate and Francesca Saverio Cabrini. More details on them on Wikipedia (in Italian) if you actually care.

The led candle lithophane uses these candles, the Christmas tree lithophanes use these shitty small led lights (the same 1-hour LEDs we used in Make your own Christmas Lithophane decoration, if you bought a 30 pack like me and have a surplus), the Holy Bell one can actually use both, making for a great standalone light or Christmas tree decoration.
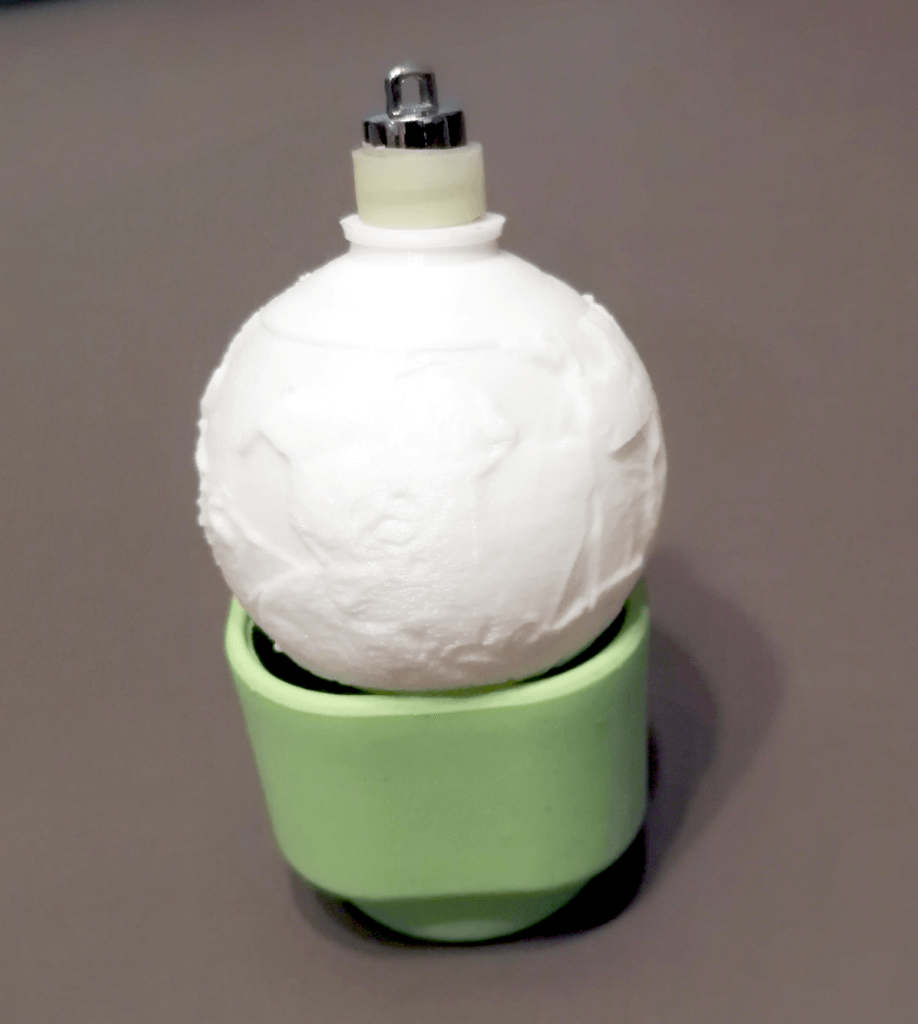
Results

Now what kind of asshole blogger would write a 3D printing post without sharing the actual results? Here’s a small preview and a video of the flickering led candle.

I hope you like these lithophanes too!

Categories
3D Printing Nerding

3D Print Lithophane Keychains

Useless intro nobody cares about, only made to troll professional kitchen bloggers who write random useless life stuff for SEO purposes, while also improving my site SEO standing:

If you have read my last two posts, you know how much I love 3D printing custom stuff and how much I love trolling people who expect freebies. My newest creation involves a little lithophane keychain, with a photo of Mussolini and Hitler. For unaware people I’m Italian and fascism and nazism are sore points here, to the point it’s considered offensive for some people and going around displaying this kind of stuff is a sure way to get into fights. I’m an huge asshole and I love being it with entitled professionally offended people: you wanted some freebie, you get one you can’t possibly use.

Obliviously you don’t have to be an asshole 100% of the time, friends will love simple cool stuff like this and with Valentine’s Day coming up next Sunday it’s also great present for the loved ones.

Step One Lithophane creation

On this day I will show you the simple settings needed to make such a keychain, with a screenshot like the last time. This time we are using this generator from the same author.

On this page remember to select Framed Keychain Hole Top Left and make it small, my example is 40×35mm, big enough to actually show a picture but small enough to not be cumbersome.

Step Two: 3D Printing

Like for the lithophane Christmas decoration , make sure you print solid. You want:
Good Layer Height: I used 0.2mm in this example for faster printing, I recommend 0.12mm for better quality.
Bottom Layers and infill: set to 999999 and 100%, respectively.
Build plate adhesion: (not shown in the pic) use a brim, you don’t need an huge one if you print along the Y axis. I used 6mm.

Final Step: add a keychain ring

Simple as it is, the print comes with a hole where you can put a keychain ring. Most local and online hardware store will have different sizes in stock, you can find a 50 rings pack for less than 3€/£3/$3.

Categories
3D Printing Nerding

Trolling people with my 3D printer

Little warning: this post is NSFW and offer no useful information.

You know what? I hate always serious people, the ones that never ever have fun. When people ask why do I own a 3D print I usually reply with “to print dicks“, most people think I’m making a bad joke, some raise eyebrows, one Karen straight up insulted me for my immaturity. Most of these people usually follow up with the request “you should print me something!” and get extra offended when I have the arrogance to ask for money, like 2-5€, for material and electricity.

In one particular occasion before last Christmas I started trolling a friend and told him I’m a Custom Sex Toy Designer, I told him I could print a small dick with his name on it. I was so amused with this result and printed a bunch of them for many friends and colleagues.

Everybody loves those!

I rolled with this kind trolling until it got too big to quit and some people asked “so, what kind of custom do you create?” and I really didn’t have an answer. I had to deliver a product, something that looked professional.
Amazon gave me an idea when I saw a good offer for blue glow in the dark PLA, but a glow in the dark penis is nothing more than a regular one.

The real idea came when I heard a colleague talking about how much he loves Napoli’s football team, he wanted a tattoo with the team logo, I had a much better idea: A butt plug with that logo on the flared end.

A couple minutes on Inkscape to draw a realistic profile, some more minutes on OpenSCAD to extrude my design and imprint the logo’s N (found for free on thingiverse), 3 hours of printing and some shitty ad made with my phone and I got my fake product.

Translations: “For real fans only!!!” and “*not for use

Wonderful!